Showing posts with label accesories. Show all posts

The fairing

So, here’s the big thing added to Selene.

Rawr!

I’ve never been a big fan of windshields and the day I took the H-D Road King for a test ride cemented that.  I found the wall windshield to be big, cumbersome and only served to make the ride oddly uncomfortable.  The batwing on the Street Glide though?  Superb.  It had looks and the ability to take the wind away from my chest and hands.

I knew that Memphis Shades made a universal batwing, but finding the mounting hardware in grand old New Brunswick last year proved to be difficult.  This season, Memphis Shades has everything readily available and a few calls produced the entire kit for me in about a week.  Keep in mind that there are three things you need to order for a complete install.  The fairing, the mounting hardware (or plates if you already have a mount) and the windshield.

So, as usual, here is my little write up of the install and my thoughts on the addition to my ride.

The batwing came nicely secured in a full size box wrapped in foam.  Memphis took a good amount of measures to make sure it was delivered scratch free and in one piece.  I would suggest handling the fairing with some kind of cloth gloves on to prevent scratching.  Keep in mind that the fairing is molded Lucite® acrylic and easily scratched.  They supply every tool you’ll need to mount it except for the 8mm socket wrench to remove your signal lights.  The biggest problem you’ll have is trying to get the mounting equipment off the vacuum wrapped cardboard.

Mouting hardware.  Mine aren't black.  Doesn't matter, you dont' even see them.

With everything out of the boxes and plastic it was time to remove the signal lights.

8mm bolt holding signal light bar.

Signal bar off hanging by the wires.

With this done slip the lower fairing mounting bracket in behind the signal light bar and reinsert the bolts.

Lower fairing mounting bracket in place.

I wasn’t big fan of how close the upper section of the bracket comes to the fork covers.  In all likelihood it will come in contact with them if the bike gets jarred a lot.  The only bonus is that this mounting system will likely never come off the bike.
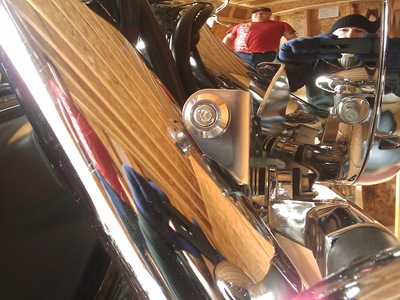
It's really really close to the fork covers.  Also note my helper.

Next up, removing the upper triple tree pinch bolt with the supplied 6mm Allen wrench.  When these are out, you can place them off to the side as they won’t be used again.  The kit comes with new long bolts for the installation.
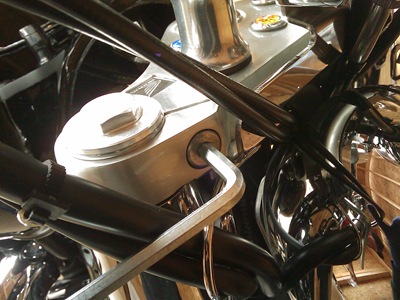
Removing the pinch bolt.

Now take the L-shaped upper brackets and remove the lower Allen bolt (opposite the L section).  Pop the L-shaped upper bracket in place and re-insert the Allen bolt, but don’t tighten it all the way.  These L brackets must be tab up and facing the forks as per figure 2, below.  Put in the new longer Allen bolt with the spacer in the triple tree pinch bolt hole.

Figure from installation sheet.

Lower Allen bolt.

Upper L bracket with bolt & washer in place.

With the brackets in place we can move on to the fairing itself.

Mounting the fairing brackets.

Please, keep in mind that the brackets get mounted facing inward.  I got a little ahead of myself and put them on completely wrong.  You find out rather quickly once you try to mount the fairing to the bike.  Please note the picture below illustrates the WRONG way to put it on.

WRONG!!!

If you put the bolts at the bottom of the holes in the bracket you will end up with the fairing as close to the headlight as it will go.  It looks the best this way and will help block more wind.

Now that you’ve mounted the brackets the right way, go ahead and slip it onto the lower and upper bushing assemblies.  I found this best with help…which I thankfully had around for the whole install.  The fairing will go on, but it will give you a bit of a fight.  If I was by myself, I could very well have scratched the fairing trying to get it onto the mounts.

You have limited adjusting room with the upper bushings and can move the fairing forward and back with them left loose.  Find the best spot for the fairing and tighten them up.

Upper bushing adjustment space.

In fact, now is the time to tighten up all the bolts.  The last thing you need is this beautiful piece of plastic taking your head off on the highway.

Now the windshield itself…which has to be ordered separately.  Yes…separately.  Anyway, I ordered the smoke black windshield and it looks fantastic on the black fairing.  It’s simple enough to install, but again it’s easier with help.  One person holds the windshield in place, the other installs the hardware.  Again, use cloth gloves if you have them, the windshield is easy to scratch.

You get three nylon nuts, washers and Allen bolts.  I’ve got them mounted ass backward on my windshield, still wondering if I like it that way or not.

Bolt inside, nut outside. Instructions say it should be the other way around...

Tighten it all up and…that’s it, you’re done!

Make a final check on all the bolts and pat yourself on the back.  Or get your buddy to point at the fairing saying, “Now that looks cool!”

Now that is cool!

Riders eye view.

Outside, minus my saddle bags.  She's kinda skinny without them.

My thoughts?  I love it and Selene loves the attention.  It’s made a huge difference in the amount of wind that hits my chest, has made my April rides that much warmer and makes the highway a lot more comfortable to ride.  There is a small amount of buffeting, but compared to the amount of wind I’m used to it’s nothing to complain about.  I bought the fairing so I could take it off when I didn’t need it, but now I think it looks so good that I’ll never take it off.  Oh Gods…I’m a convert!  *hangs head in shame*

I do intend to get the lower deflectors and the chrome windshield trim later on.  The chrome will just accent all that black and I’ve read that the defectors make quite a bit of difference.

Windshield trim. Lower deflectors.

I will not be getting the fork lowers as the only ones I can get attach to my fork covers and I’m not willing to do that.

That’s it.  Hope you enjoyed the write up.

Finally

I've been holding off blogging about my new order just in case things ended up with me being disappointed. As of today, I can gladly say that I'm far from disappointed. As much as I would love this to be a review of the installation, it's going to have to be a review of the shipping. The weather out there is crappy and I don't have the tools nor the time

Today I received my order from Tsukayu.

IMGP0602

As you can see, it was well packaged. The box itself took a few knocks and was actually broke open in a couple of spots, but it was wrapped in plastic so nothing actually went through the box.

IMGP0603

IMGP0605

The items were wrapped in a double layer of foam wrap as well as being encased and separated with styrofoam sheets.

I'm always nervous about unwrapping things like this. I hate seeing things so nicely wrapped only to discover that it still didn't protect it. We all know what the mail is like. No matter how many stickers you put on there announcing that it's fragile, there is always someone who just doesn't care.

IMGP0611

IMGP0612

Much to my delight, there wasn't a mark on them.

They were covered in dust and bits of foam, but that was nothing a good polishing rag couldn't take care of. I am thoroughly impressed with the finish of these saddle bags. They have a mirror finish with no imperfections at all. I'll have to coat them with a few layers of wax to make sure they are well protected.

IMGP0618

The details really make these worth it. The new latch style they are using really looks nice. it used to be a barrel style that was set into the case itself. The new chrome latch helps keep the lid closed tightly and really looks nice against the black.

IMGP0625

One of the big selling points for me was the felt lining. In comparison, the National Cycle saddle bags cost twice as much and don't come with any kind of lining. The rubber seal looks pretty sturdy and will definitely get tested out with the weather around the Maritimes.

IMGP0619

The prop seems sturdy and holds the cover up quite nicely. It locks solid and doesn't flex either. As of right now I have to release the prop lock myself. I'm guessing that's just because it's new and a little stiff. It doesn't bother me either way as long as it keeps the cover up.

IMGP0631

The only thing that really bothers me is the plastic hinge on the rear. It's black, so it doesn't show up that much, but I would rather it be chrome. I'm afraid that this type of plastic may not weather well and could quickly become discoloured. I may replace them with chrome hinges myself, but I have other things that are a higher priority than that.

IMGP0635

The mounting hardware was wrapped in bubble wrap and foam wrap which in turn was surrounded by a styrofoam box which was, again, wrapped in foam wrap. Each of them was placed inside a saddle bag. I have to hand it to the packers, short of being dropped from a plane, nothing was going to happen to the mounts.

IMGP0633

The mounting hardware is quite different then what I'm used to seeing. Apparently they are designed to keep the cases as close to the bike as possible. The metal is quite thick and sturdy, but I have to wonder if they are strong enough to support the cases. In my searches for information on the internet I never encountered one complaint about this type of mount, so I'm guessing I won't have any issues. Besides, you aren't supposed to overload your saddlebags for safety reasons.

IMGP0636

Last, but certainly not least, is the bag-O-parts. In here are all the little things you need to make sure the cases stay on the bike. A very good thing indeed. As you can see, there are keys in there. The locks on the latches are very real and will only open with those keys. I figured they would be the "pretend" locks that you can get, where almost any key will open them. I have one of those locks on my Kawasaki's gas cap. I could use my house key to open it. I'm not quite sure if you can tell, but they supply three keys for the cases. That is very handy for a forgetful person such as myself. One key will stay home, one will be with me and one will be with Joey. As you can tell, I've had experience with "misplacing" keys.

All in all, I am not disappointed with choosing Tsukayu. Total cost for the cases came to $643.31CAD ($539.00USD) and it took approximately 25 days (from order date to delivery date) for me to receive them. I know that seems to be a long time, but you have to keep in mind they came from Hong Kong.

In comparison; the National Cycle Cruiserliner Saddlebags are $649.99USD and you have to buy the mounting hardware separately for $229.95USD. Not including duty (which can be high and you can't get away without it paying now) that's $879.94USD ($1001.37CAD)...yikes. And that's without felt lining and an actual chromed latch.

I know the Cruiserliner Saddlebags would be easier to install and I know that National Cycle is a great name, but I just can't justify that much for a set of hard saddlebags. And no, I wasn't about to buy soft ones. Soft bags just aren't my style and some of them are just as expensive as the Tsukayu ones I now have.

I also have to compliment the staff. Mavis and Yoko (the two I dealt with) were more then willing to answer any questions and were very prompt with all replies. Tsukayu was probably the friendliest and most helpful online dealer I've every had the pleasure of communicating with.

Now the bad news. I'm not going to have time to mount them anytime soon. I'm back into my weekend rotations at work and it will be a month before I have actual weekends again. It has to be done on the weekend due to the fact that my Dad has all the cool tools and this is definitely not a one man job. So, the next installment of this review will come at a later date and will be more detailed with just as many pictures...if not more. For the time being I'll just watch the snow melt...or accumulate...*sigh*

a break

after all that writing and typing, i decided to take a little break from the blog. it drained me to continually write that long about our trip and i didn't want to see the blog afterwards...lol.

a few things have happened.

our car (98 dodge neon) gave out on us. it blew out a spark plug and stripped the cylinder block. for the time that it was out of commission (about a week) we only had the bike. we haven't had a string of weather that good all summer. it never rained once the whole time and we had some really beautiful runs on the bike.

friday we went out to pick up the car and go shopping in preparation for the eldridge's harley davidson 1st annual poker run. i picked up a few odds and ends for Selene which included a new headlight and a cheapy set of saddlebags.

Sylvania Silverstar H4 (9003)

this thing should be standard on all motorcycles. it's not a brighter light, it's a whiter light and it illuminates the road so much better then the OEM headlight...the difference is unbelievable. the installation was pretty simple, even though the MOM doesn't even give you a clue of how to do it. i was pretty much guessing at what things to unscrew to take out the headlight. you would think that seeing the manual tells you how to change your oil, it would also tell you how to change out a burnt out light. nope.

here is a shot of the saddlebags on Selene.

Selene with saddlebags

they aren't the best things ever and i only paid 80 bucks for them, but they really paid off on the poker run. it was nice to have a place to put everything we needed for the day and not have a backpack strapped to the back of the bike. they will do until i get the hardbags for next summer. here is a shot of the national cycle hard bags i want.

National Cycle Hardbags

they come in gloss black, so i wouldn't even need to get them painted. they also match Selene's lines perfectly.

The gathered riders

the ride was on saturday and went from 11am to around 9pm. we had a police escort all the way out of the city. it was a site to see around 200 bikes going straight through the city with all traffic blocked so that none of us would get separated. there were various stops along the way to get the next card in our hand with long rides in between. it was mostly back roads as well, the only times we hit the highway was to bridge over to the next back road. there were a couple of nitwits in the pack that didn't seem to have an idea of how to keep the pack together, so i opted to stay up close to the front where the more seasoned riders were.

The barbeque

the ride itself ended at the free barbeque. from there it was a free for all to meet at one of the watering holes in saint john. there were prize draws and the winning hand was figured out, which happened to be four aces! there was no beating that.

me and joey won a harley davidson roll up mat/blanket and a harley davidson motorcycle cleaning kit. the kit was worth 15 bucks and the mat was worth 20 bucks, so we made back our money that night...hehe.

as always, there are more pics on my flickr page. joey's aren't processed yet, but will be soon. she has some shots of the ride itself.

bestem backrest installation

so, today my new backrest arrived. here-in lies the initial review and installation of the backrest. i almost forgot to continue taking pictures once i started the installation...lol. i apologise for the blurriness of some of the shots. my little digital camera's auto focus is a little willy-nilly.

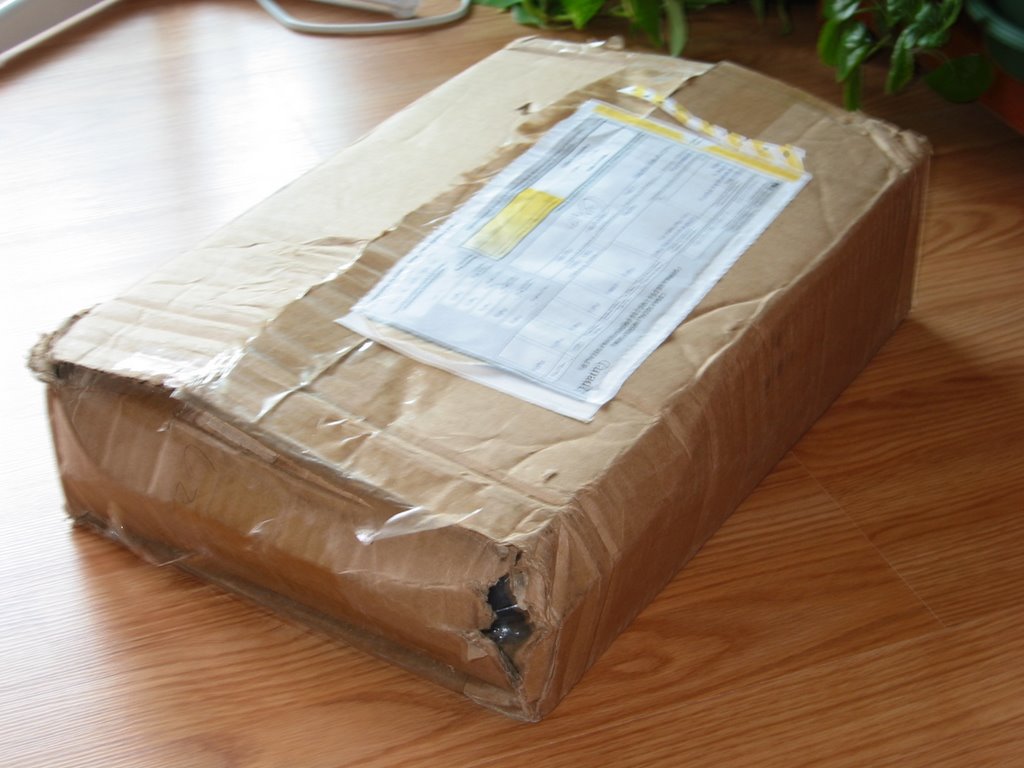
first off, Cruiser Backrest did a great job of shipping it to me. the box took a beating, but everything was wrapped really well and there was no damage to the actual contents. i expected it to be in worse shape for the distance it travelled (Miami to New Brunswick, Canada).

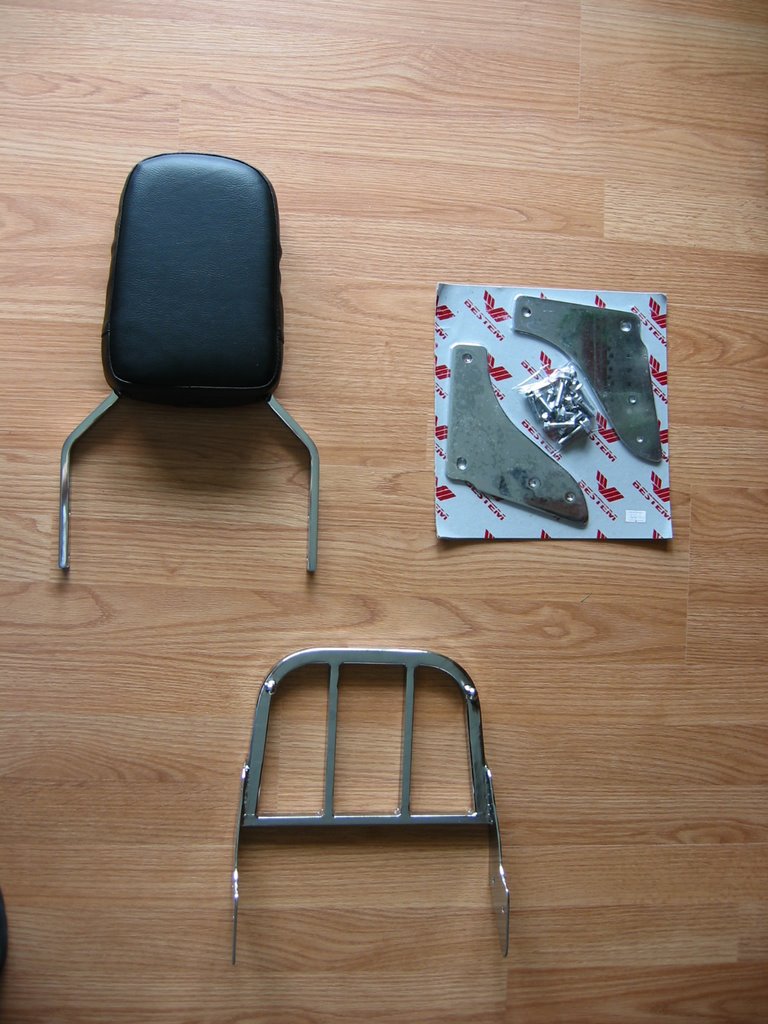
once unpacked, this is what you have:

upper left, backrest with pad. upper right, brackets sealed in plastic on cardboard. the bolts and nuts needed are sealed in there as well. bottom, the luggage rack. nothing was damaged due to the fact that it was all wrapped in foam and sealed in plastic.

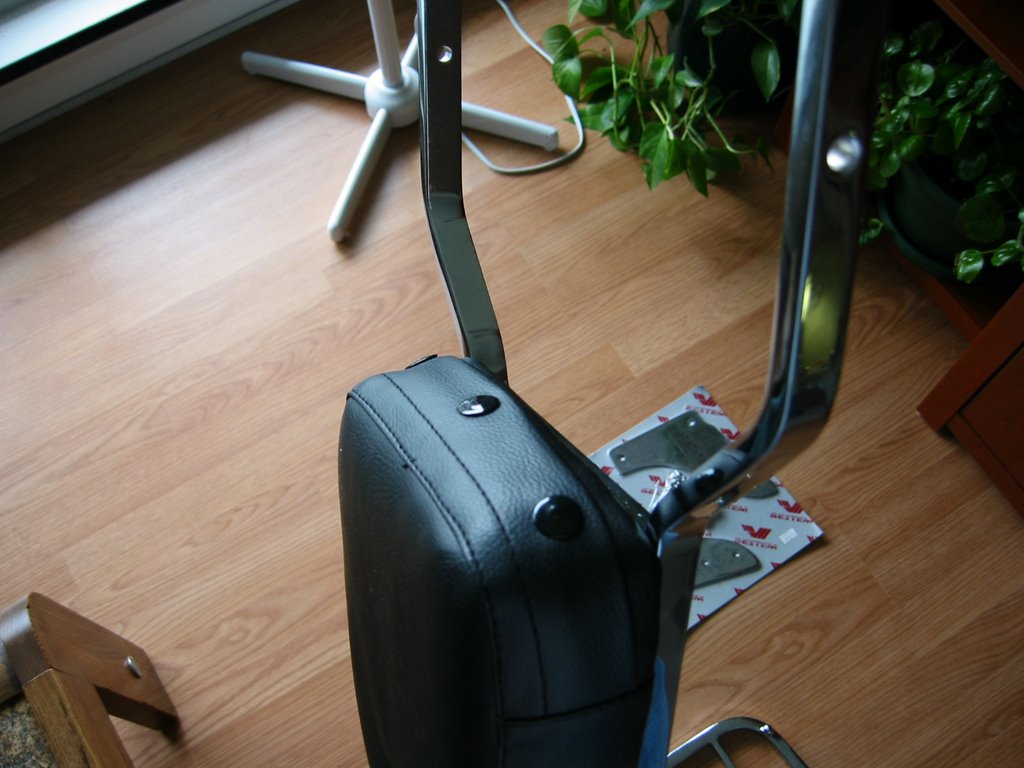
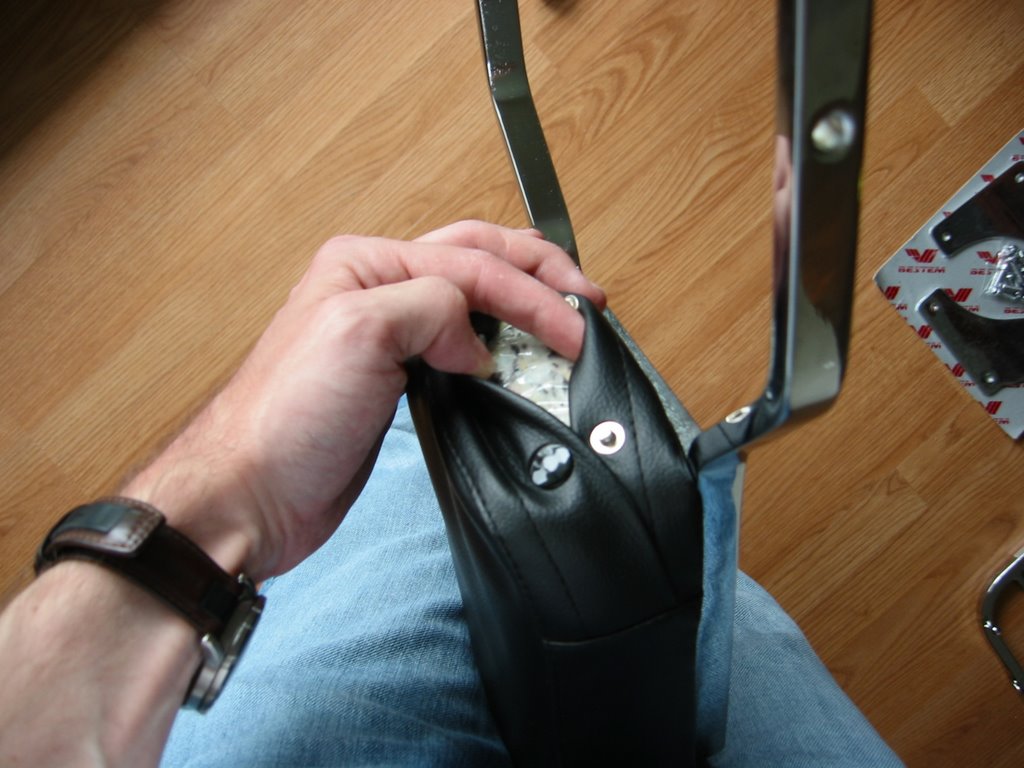
the backrest itself is quite soft and has a really neat feature. the bottom of the pad has three snaps that give access to the interior padding. this would make it really easy to replace it if needed. also, the padding is wrapped in plastic which protects it from the elements.


this leads me to my first irk with this backrest. i'm afraid that those snaps will slowly rust to pieces or rust shut. i live in the maritimes and we get plenty of fog and rain. as a matter of fact, it's raining and foggy right now. my bike is a 2006 and it already has some small rust spots on it. we'll see how long these snaps last.

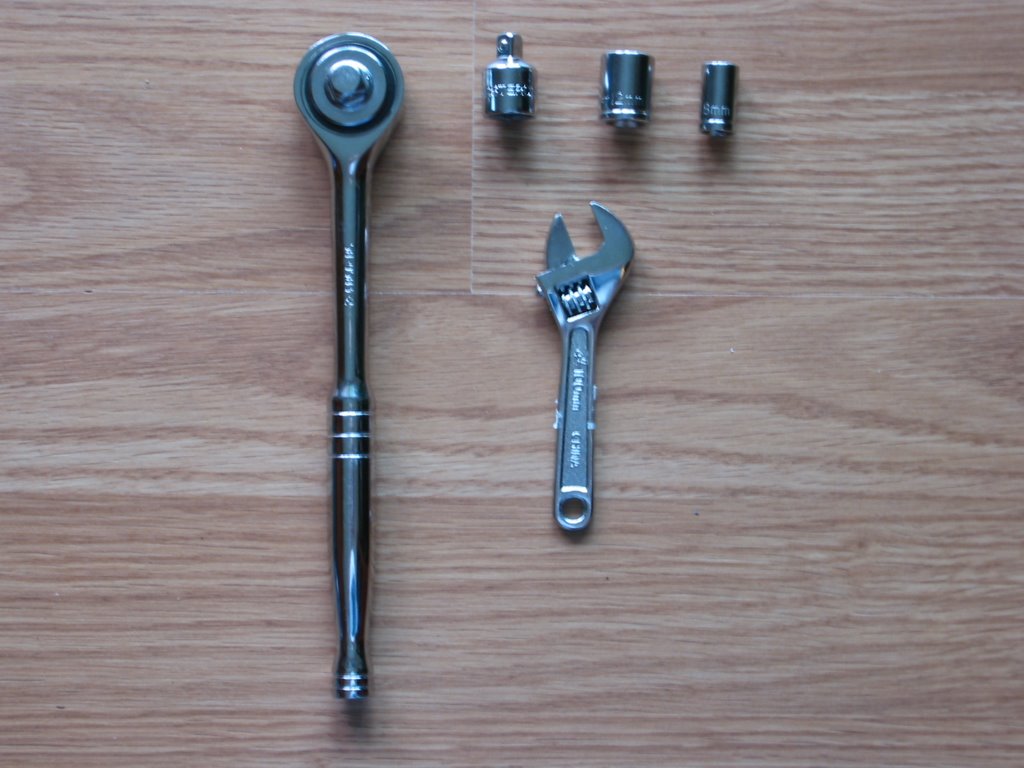
these are the only tools you will need:

we have one ratchet with a socket adaptor, a 100mm thumb wrench, an 8mm socket and a 12mm socket. that's it, that's all you need...well, aside from your hands and knees. ;)

ok, here is the part where i forgot to take pictures.

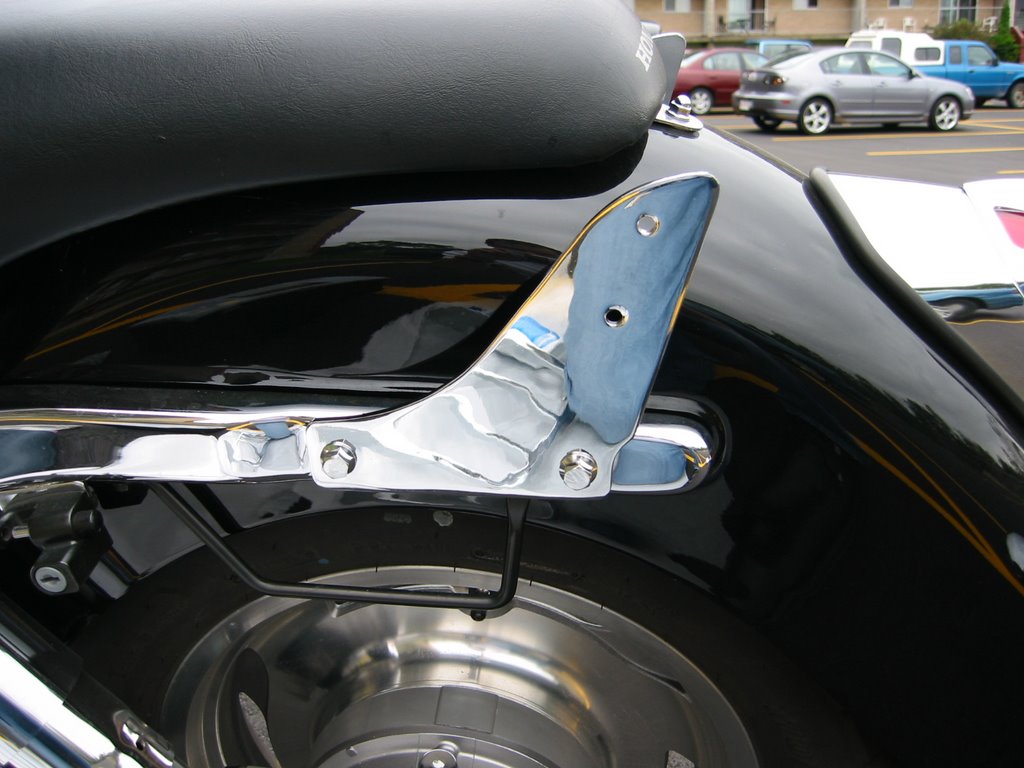
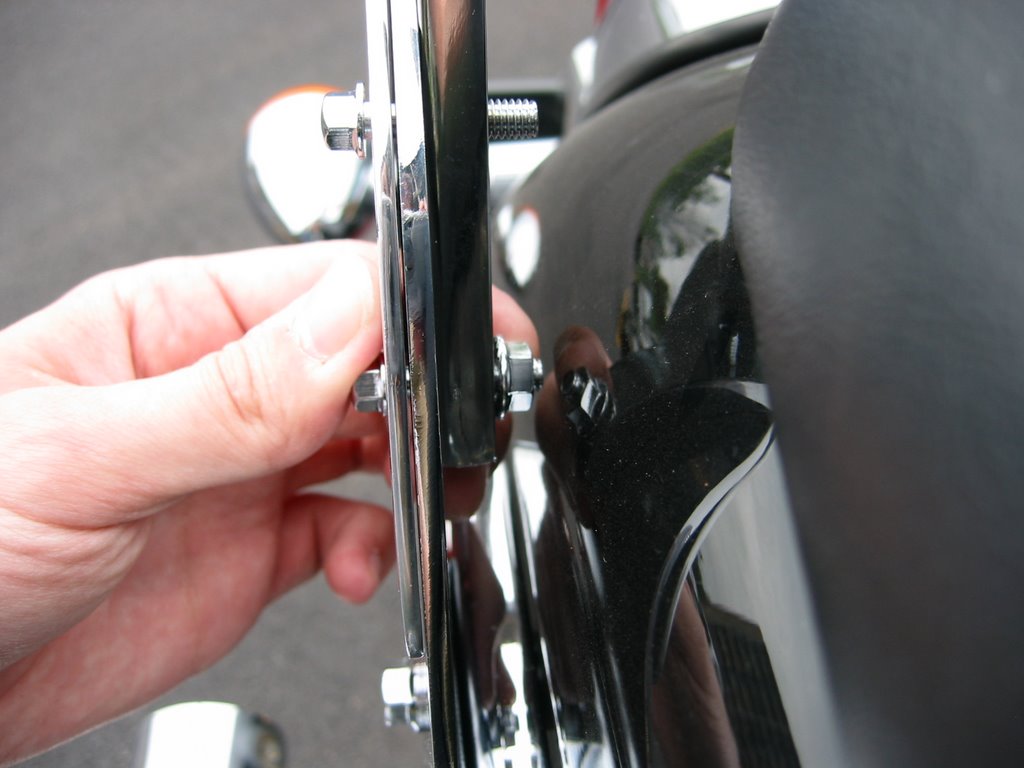
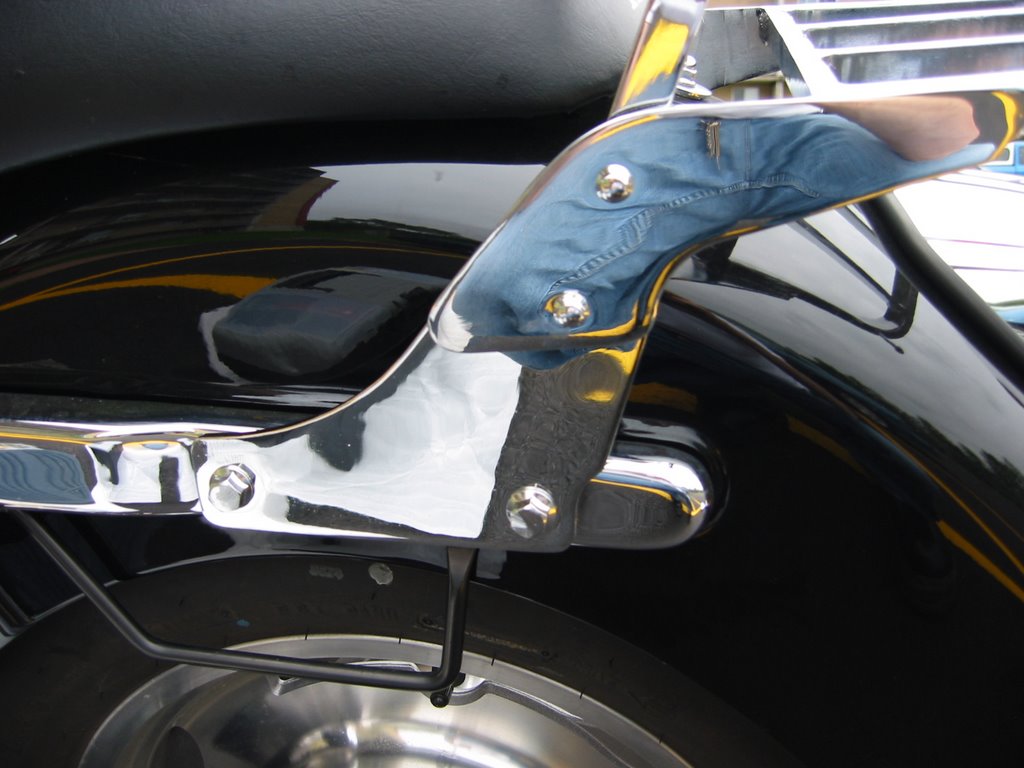
guess i was just too excited...lol. i'll just do the explanation here. i had to remove the two rear bolts that hold the chrome brace to the fender. be careful when doing this as there are little washers mounted with these bolts. i'm guessing that they are used to protect the chrome underneath. with that done i mounted the brackets with the longer bolts that came with the kit. first i put the bolt through the bracket, then put the original washer on the bolt. after that, i just used the 12mm socket to tighten them up. here i come across another irk. this one is more aimed at Honda. i'm not keen on mounting the brackets to the outside of the original chrome on the bike. at some point i may turn this bike into a one man cruiser and i won't be happy if the chrome is scratched or marred. that's why i put the washers where i said. hopefully they will protect the chrome...fingers crossed.

i assembled everything piece by piece on the bike. you could just have easily put it all together first and then mounted it. i did it piece by piece because the fully assembled backrest is a rather snug fit and i didn't want to risk scratching the original chrome on the bike, or anything else for that matter.

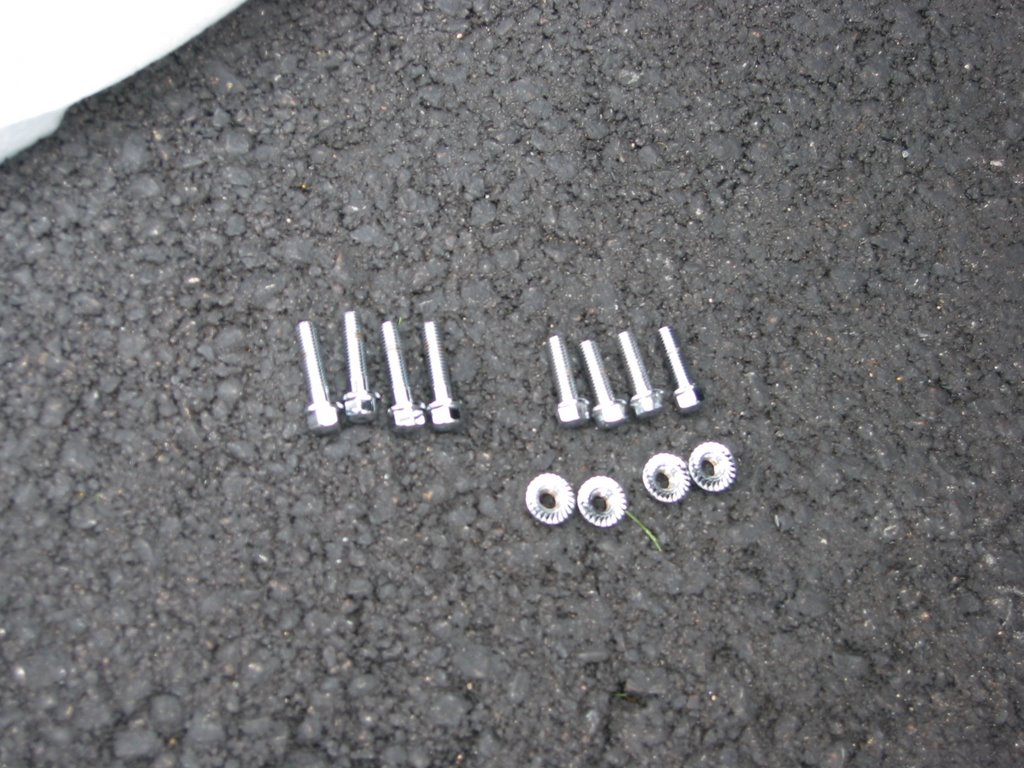
ok, with the brackets on we now have a choice. they pack two sets of bolts for attaching the backrest and luggage rack. if you only want the backrest, just use the short bolts. if you want the backrest and the luggage rack, use the longer ones.

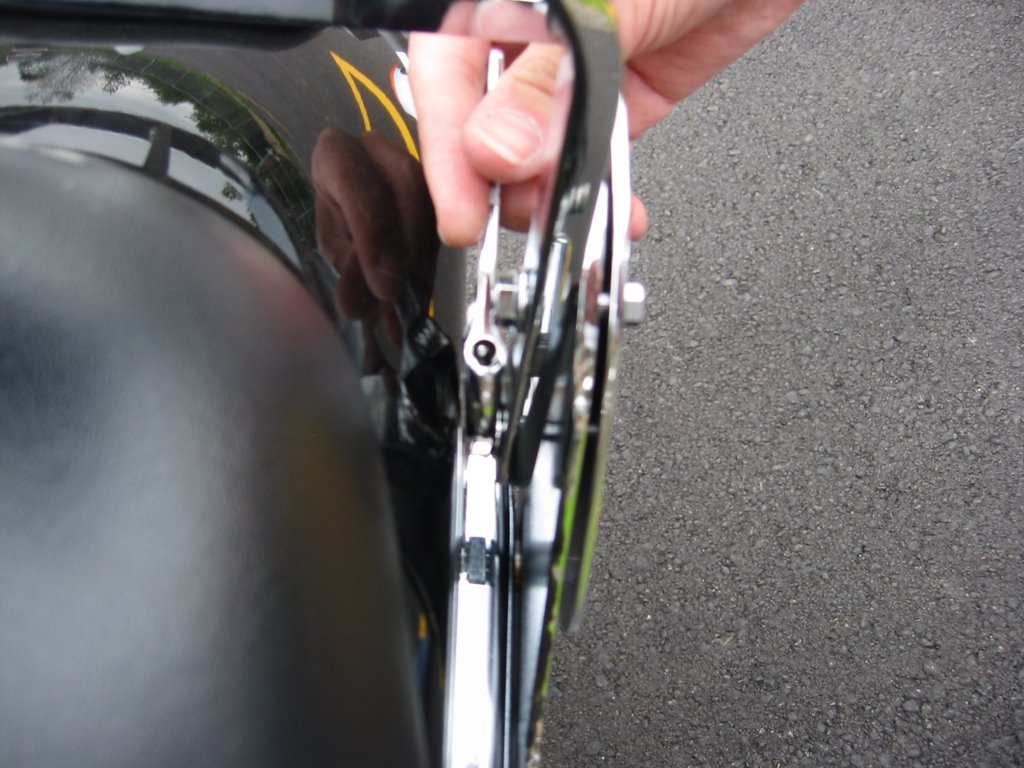
here is the point where some people would rather assemble it before putting it on the bike. i had to balance the luggage rack on my knees while i straddled the rear fender. then i had to slip the backrest on and put a long bolt in either side. it was a bit of a balancing act, but i like causing myself trouble like that...lol. the backrest held itself in place pretty easy due to the fact that it is a really tight fit.

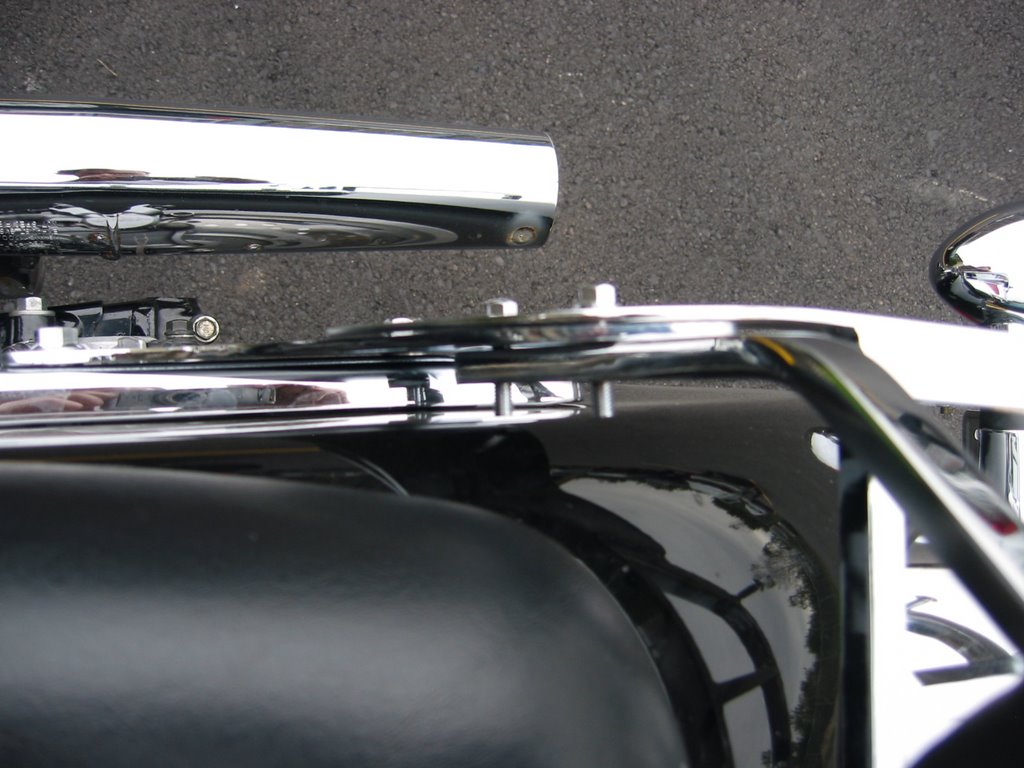
here i am putting one of the small nuts on one of the longmounting bolts. as you can see, there isn't a lot of room to play around. you are very close to the fender here and once you get the thumb wrench in, you have no room for slip ups. i've already got on chip on my fender (no idea how) and i wasn't in the mood for another. as you can see, the backrest goes on the inside of the brackets and the luggage rack goes on the outside.

once you have snugged the nuts and bolts by hand, pop out the ratchet, the 8mm socket and the thumb wrench. use the thumb wrench to hold the nut and ratchet those nuts snug.

be very careful when tightening them up. these bolts are quite small and i'm sure that it wouldn't take much to twist the head right off or strip them. once they are nice and tight (careful with that thumb wrench next to the paint!) you can see how well all three pieces flow together.


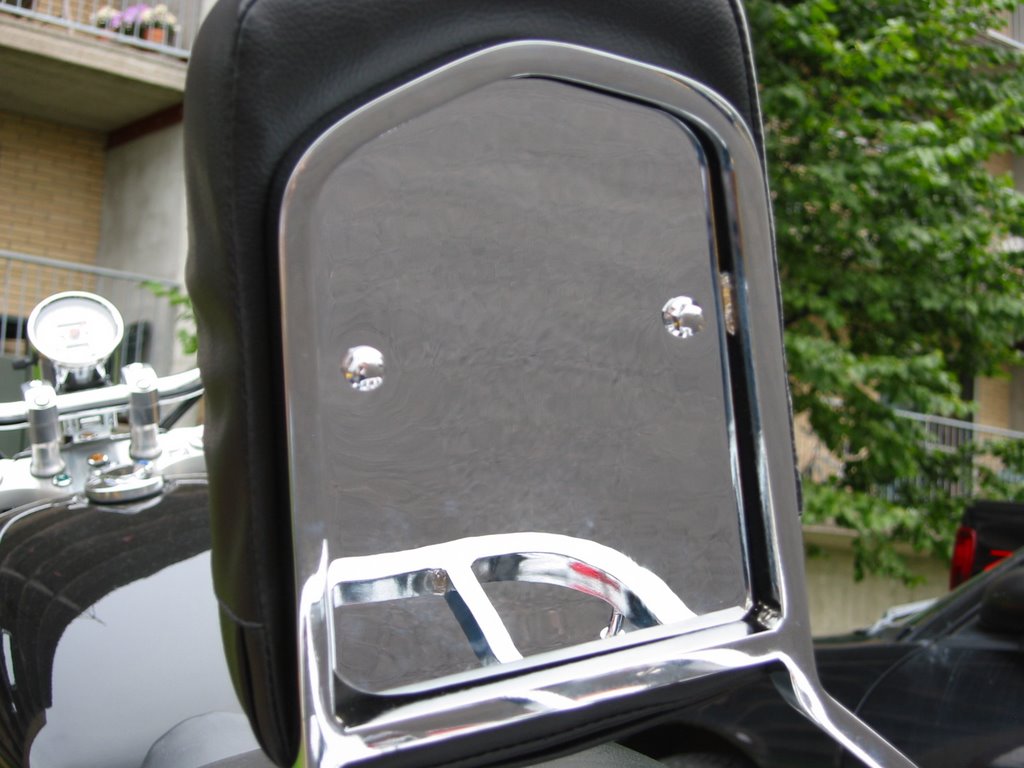
a little addition here that i wouldn't have thought of normally. i grabbed the top of the backrest and jiggled it to see if anything would move. lo and behold, the pad actually moved. it either worked loose from shipping or it was sent this way. regardless, there are too small bolts that you can snug up right on the back, just use the 8mm socket.

i did a final once over and made sure the rest of the bolts were nice and secure and wiped off the myriad of finger prints. after that, it was gear up time. i hit the road with my ratchet in my pocket. i stopped every now and then to make sure everything stayed tight, which it did.

i was actually wondering if this would look ugly on the bike or take away from it's looks. but now that i look at the pictures, i like it. the luggage rack is solid (rated for 2.7 kg or 6 lbs), the back pad is comfortable (yes i sat up there to test it :)) and over all it's a nice match to the Sabre.

install: easy (with minor acrobatics)
construction: solid
longevity: in testing